

Biography Pages
The below steps document how to create a biography page for an employee that would be listed in the Office of Research and Innovation contact directory.
Information regarding page structure, usage, etc. is available.
Page Creation How-To
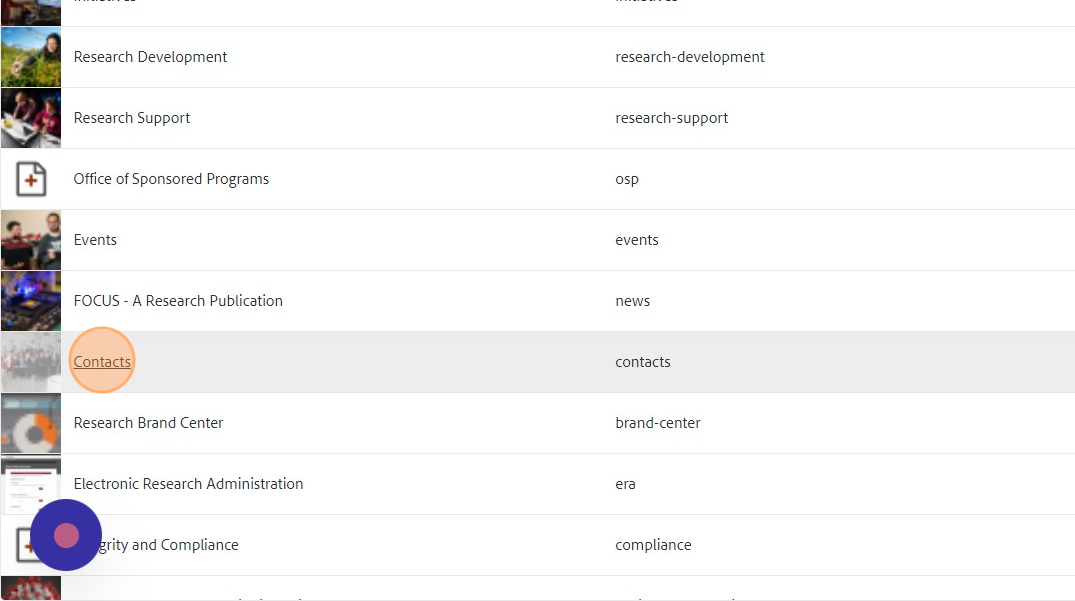
From the research.vt.edu root directory, scroll down and click "Contacts".
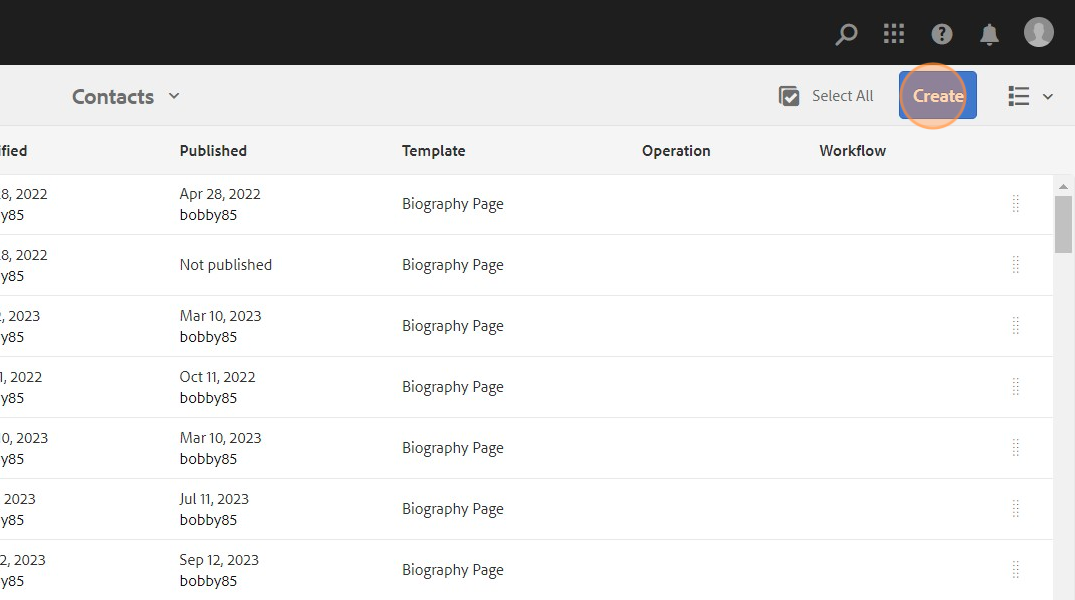
You are now in the Contact directory root. Click "Create" in the upper right corner of the CMS.
Click "Page".

Click “Biography Page”.
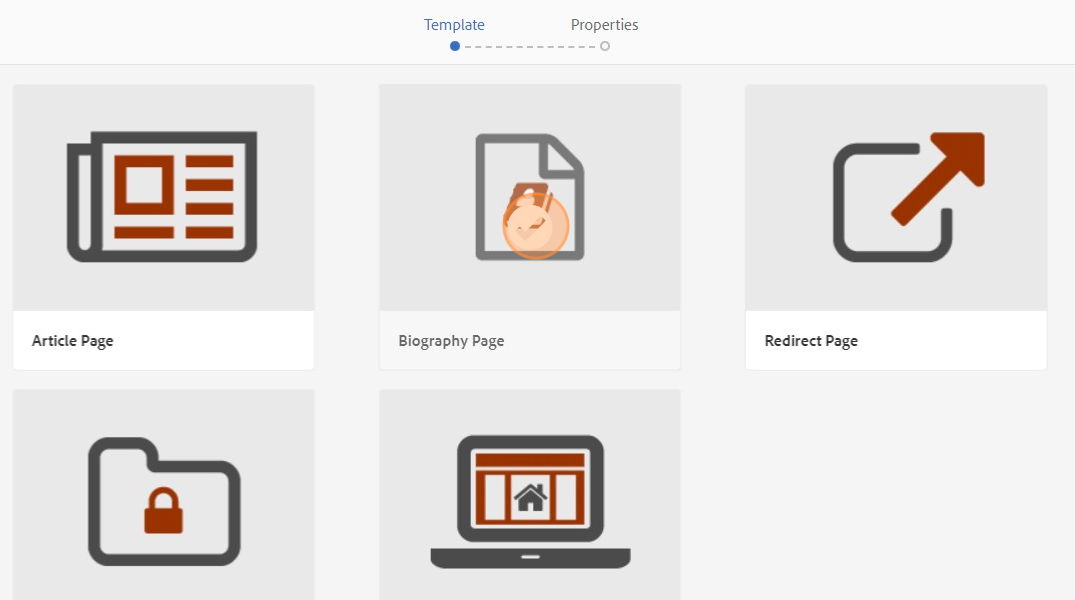
Click "Next".

You will now move on to Step 02 - Filling Out the Biography Page Properties.
| Field | Description |
|---|---|
| Title | Person’s first and last name |
| Name | This is to generate the page URL. Normally we let this autogenerate based off of the “Title” field, but in this instance the format would be <lastname>-<firstname>, all in lowercase (and a dash used for the space). Example - the person’s name is Kathy Acosta. The Name field would be entered as acosta-kathy. |
| Tags | Tags will include department name, parent office, ad if they are staff or leadership. |
| Right-Column | Without Right Column |
| Description | Job Title would be placed here. This is used for list component generation and currently the only workaround to show title in CMS when using list components. |
| Subheading | Job Title would be placed here. |
| Full Name | Person’s first and last name |
| Job Title | The person’s job title. This will be formatted slightly differently than how it will appear in Banner. If the title happens to be in the format of <department> <position> (such as Post Award Administrator), the format on our sites would show as “Administrator, Post Award” |
| Phone | Primary contact number for the person. |
Person’s primary contact email. This most likely won’t be their PID@vt.edu as it is best practice to create an alias for their email. |
|
| Page Image | This will also be the person’s headshot. This is used in list components and in page previews in search results and when the page link is shared within Outlook. |

Example above: attribute fields to fill out in the page properties of the biography page.
You will now move on to Step 03 - Adding an Image.
In the upper left of the CMS, click the “Toggle Side Panel”.

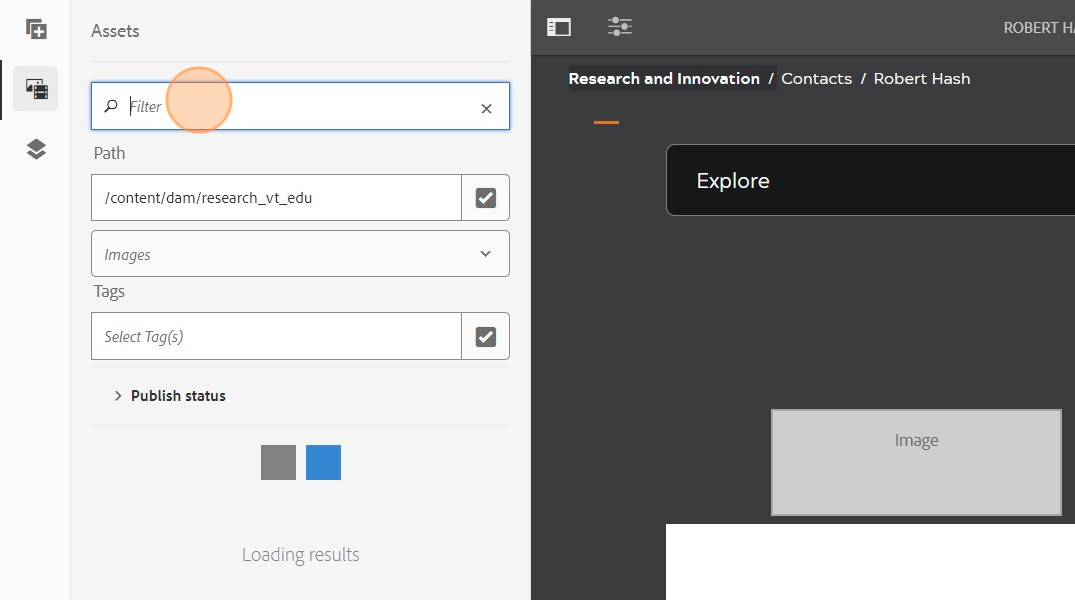
Click the second tab on the left to see your site assets.

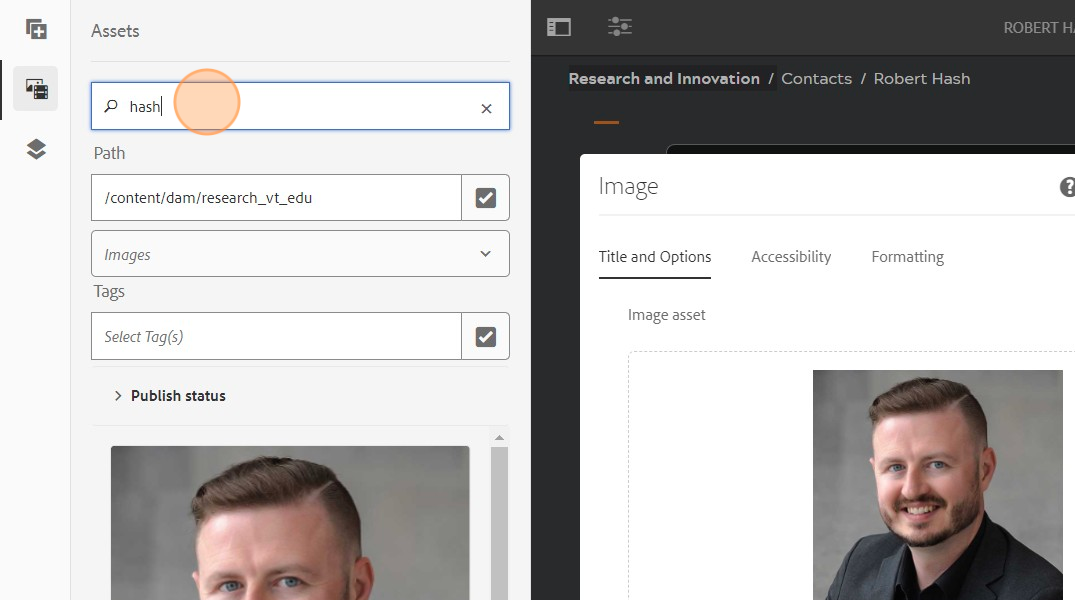
Click in the filter field to search for an image. Type in the last name of the person, if an image exists, it will show. If the person hasn’t had an image taken, type in “Photo not” and you will get the generic “photo not available” photo.
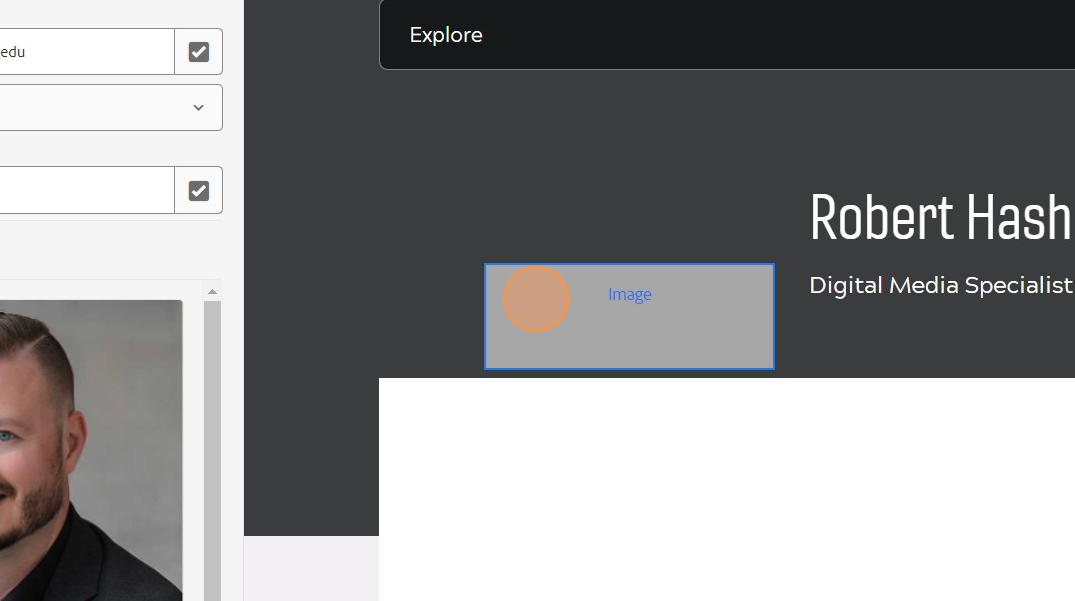
Left click the image component.
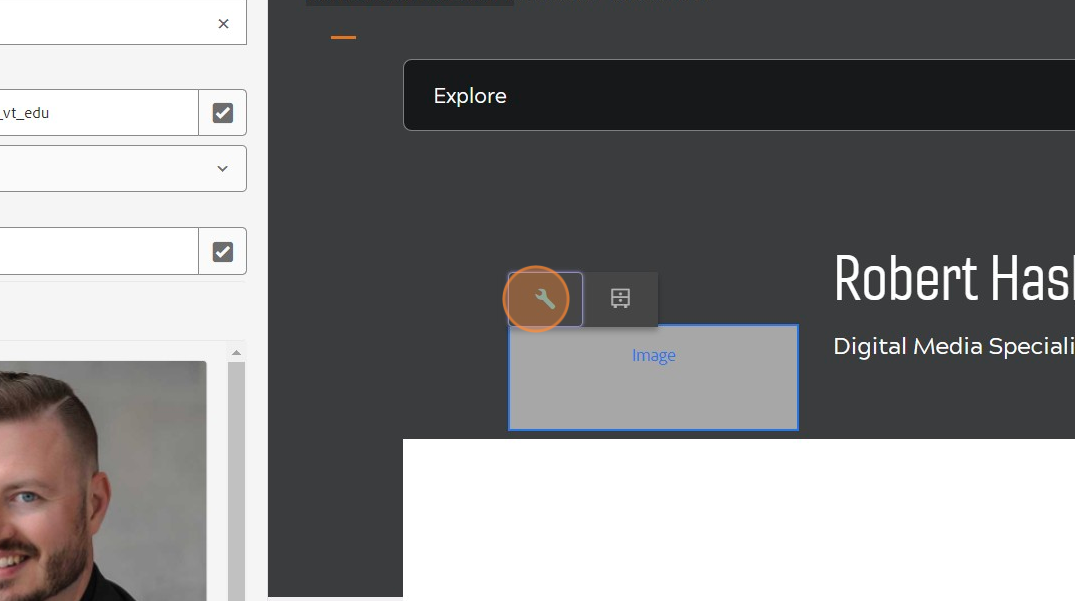
Click the “wrench” icon to get to the configuration options of the image component. Although you can drag an image over into the component, it is better to do this first so that you can automatically copy over the alt. text information for an image if it exists.
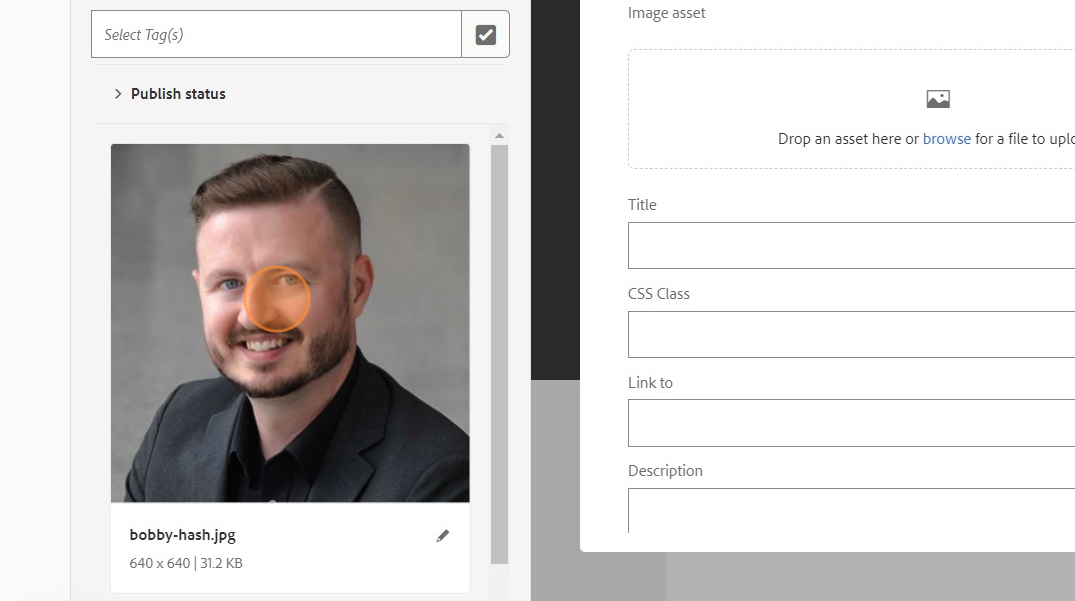
A popup will show with the image options. You can drag over to your Image Asset box and it will carry over the alt. attribute for the image. Use the 640x640 version of the image if multiple exist.
Left-click the "Accessibility" tab and enter a value for the "Alternative Text" field. This value will be read by screen readers and will show on screen if an image is slow to load or doesn't load.
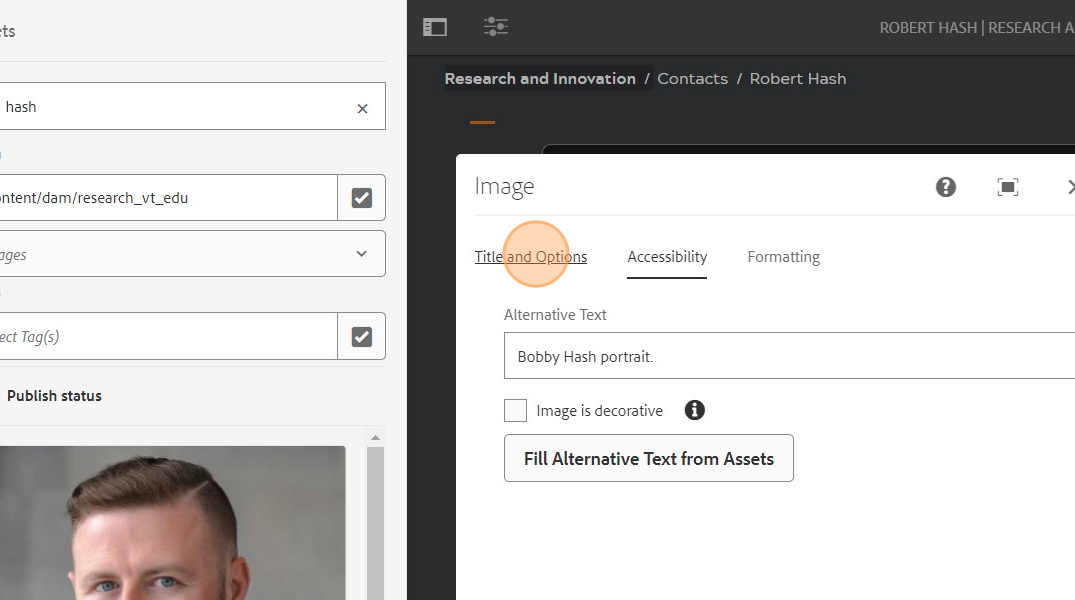
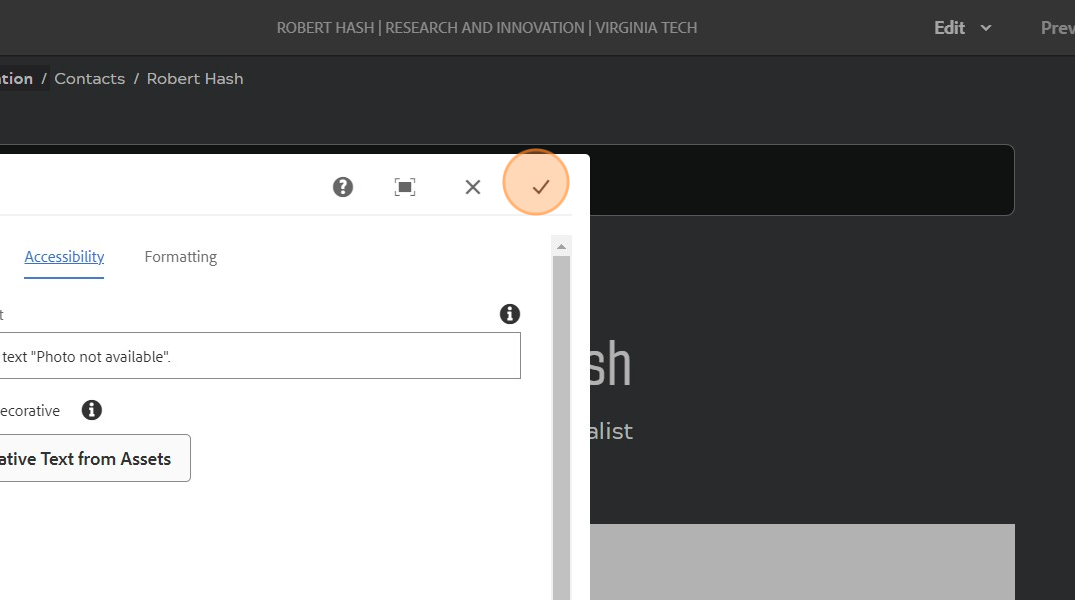
Click the “checkmark” icon to accept the changes.
You will now move on to Step 04 - Adding Biography Content.
NOTE: Biographies are only required for leadership positions (vice presidents, directors, managers) unless designated otherwise by division or unit.
To create the biography content, you will need to go to the edit section of the page and do the following:
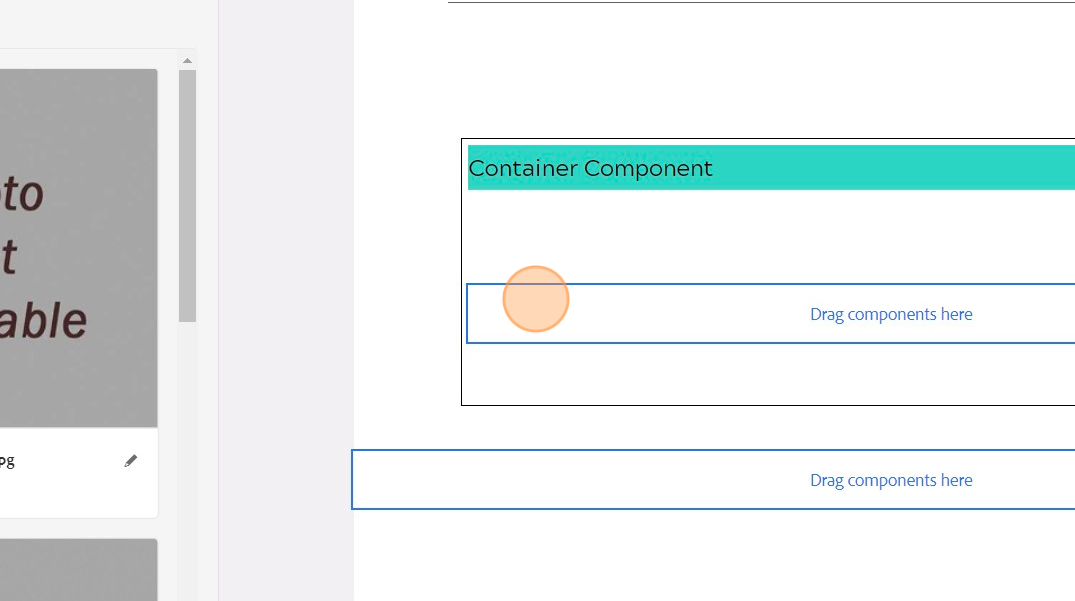
In the content pane under the address/contact info, drag a container component into the “Drag components here” area.
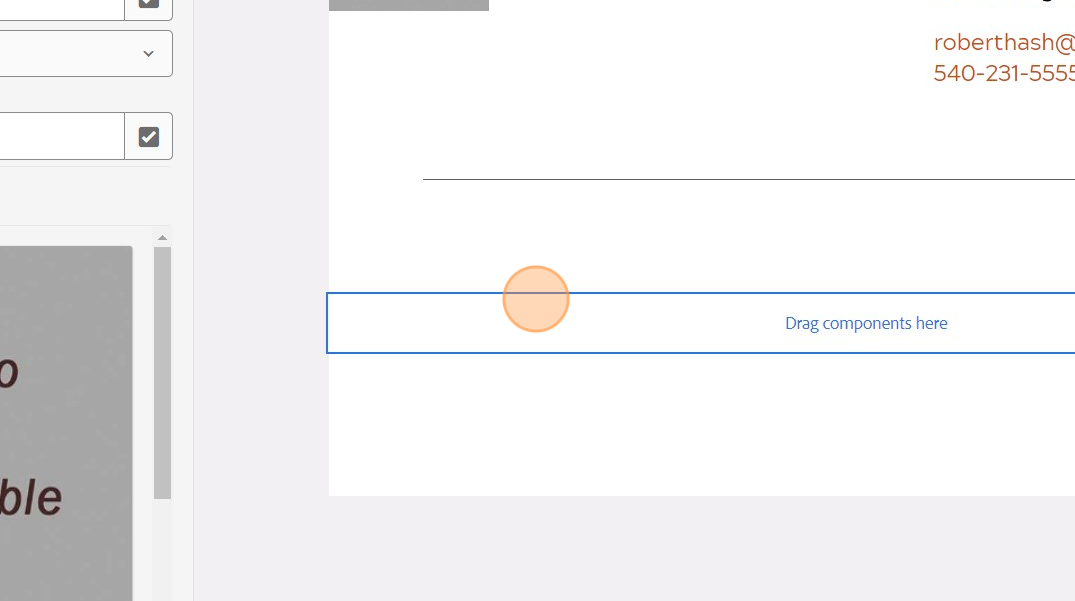
Example below: dragging over a container component.

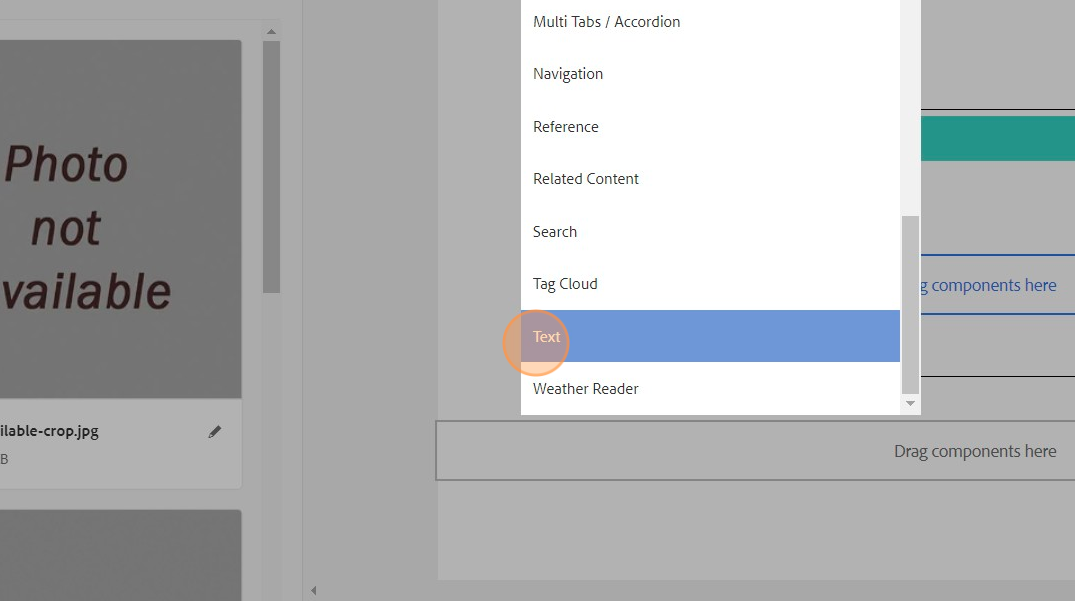
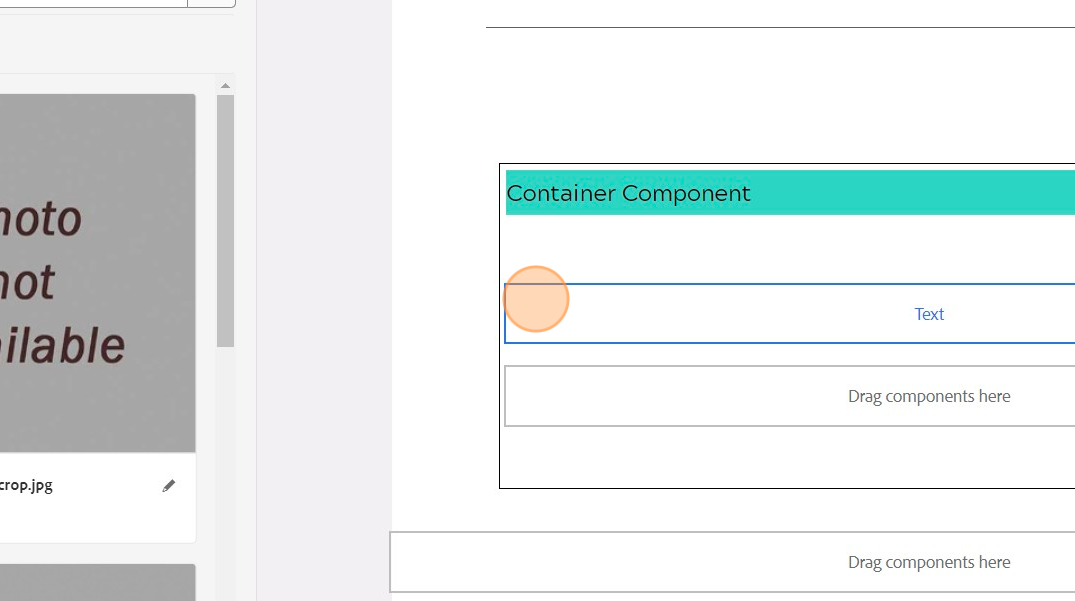
Now drag a text component inside of the container’s “Drag components here” box, or click the "Drag components here" box and select "Text" from the dropdown.
With your mouse over the text component, left click to see options for the component.
To edit, click the “pencil” icon.

The text component will have information in the following order (headings in heading 2 <h2> format, text in paragraph <p> format, both left-aligned):
Responsibilities heading
Responsibilities text
Background heading
Background text
Education heading
Education text
Click the “checkmark” to accept your text changes.

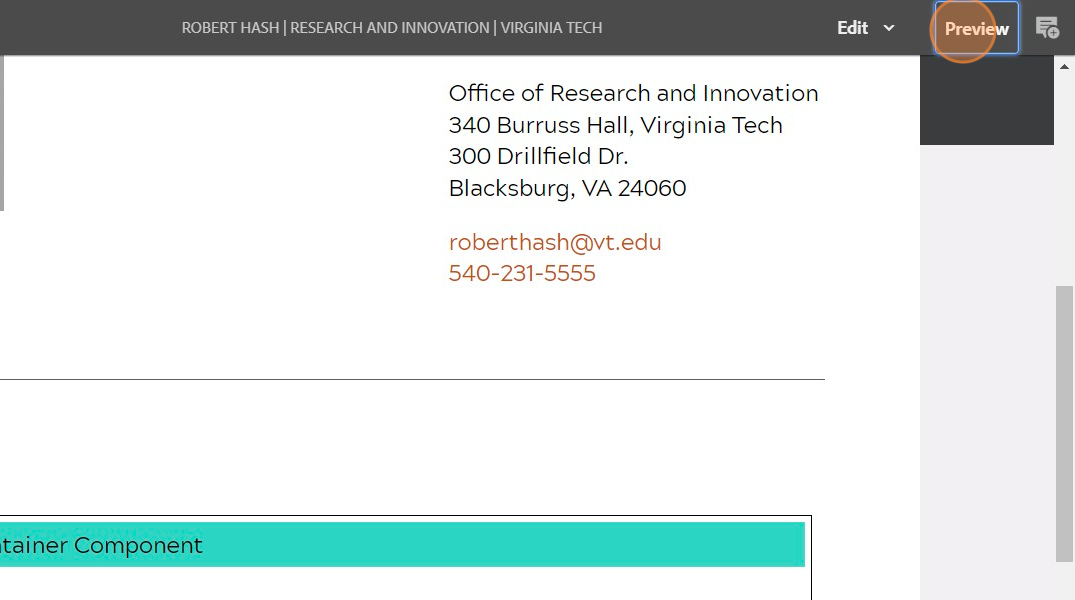
You will now move on to the final step - Previewing and Publishing the Page.
Click "Preview" in the upper right of the screen to make sure everything looks okay.
The page properties of the employee page will be used to edit the employee name, email address, phone number, physical address, job title, etc. after publish.
To access the properties, you will check-off the employee page and open in edit mode.
Once in edit mode, scroll to the upper-left of the screen and left-click the page properties icon.

From there you will select "View" Properties".