List Components on Child Pages: How-To
Navigate to https://author.ensemble.vt.edu.
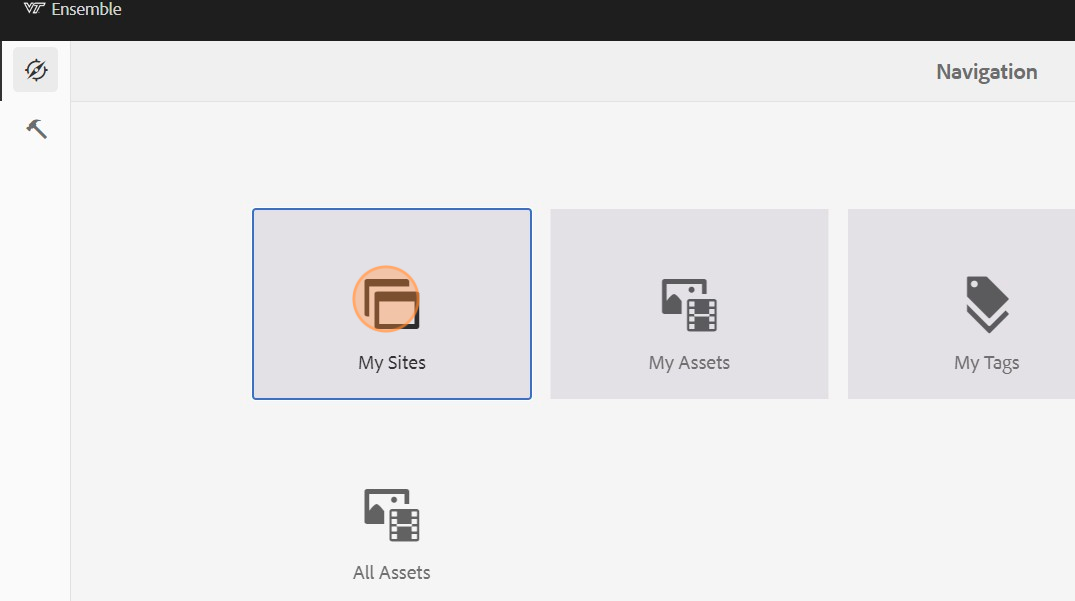
Click on My Sites.
The websites you have edit access to will populate. Choose the site you want to edit.
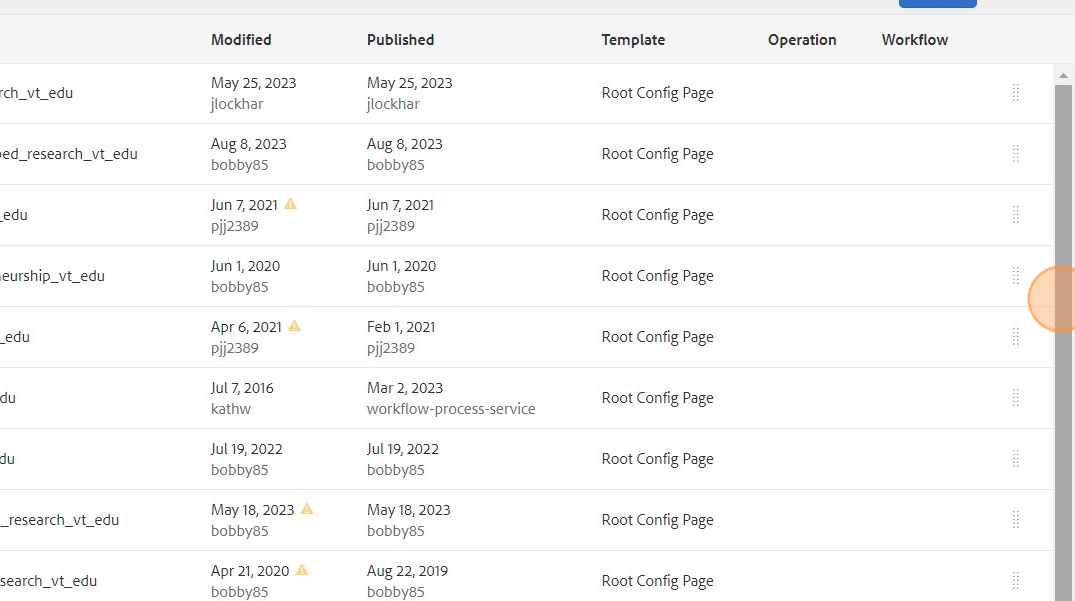
Click the "En" redirect page to continue to your root directory.

Navigate to the page you want to edit.
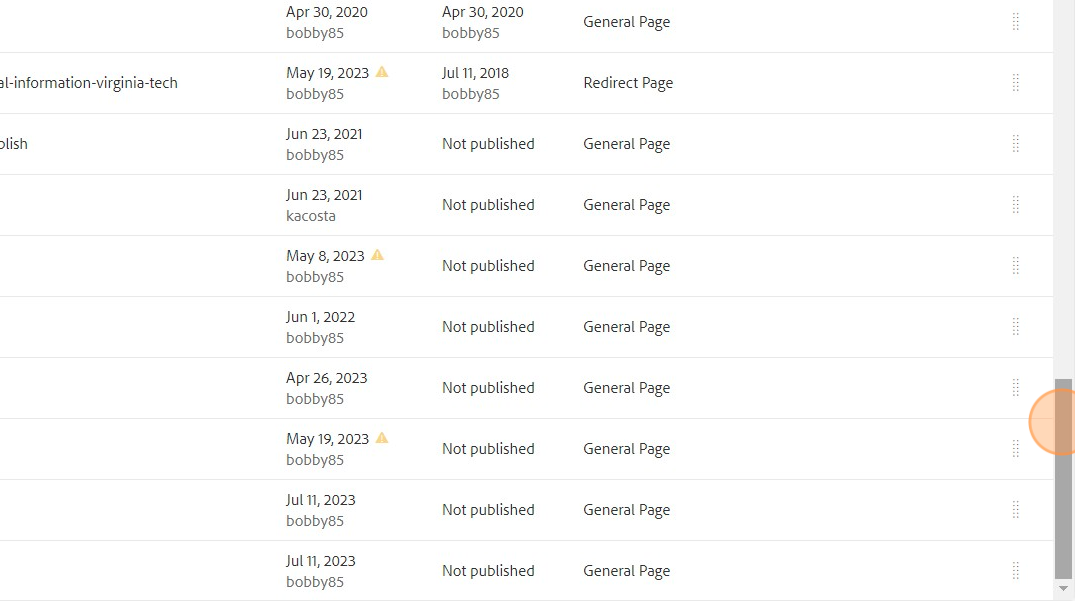
Check off the page you want to edit by left-clicking the icon shown.

Click "Edit".

To edit, make sure you are editing mode by clicking "Edit" in the upper-right of the screen.

Click "Toggle Side Panel" in the upper-left of the screen.

Scroll through the component listing until you see "List". Drag this to the content area.

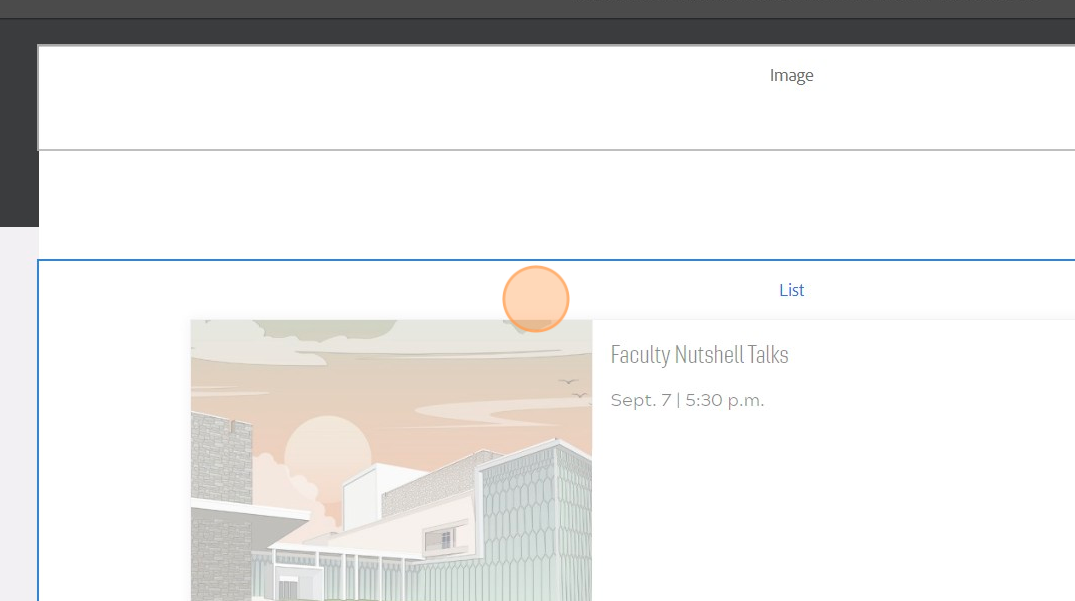
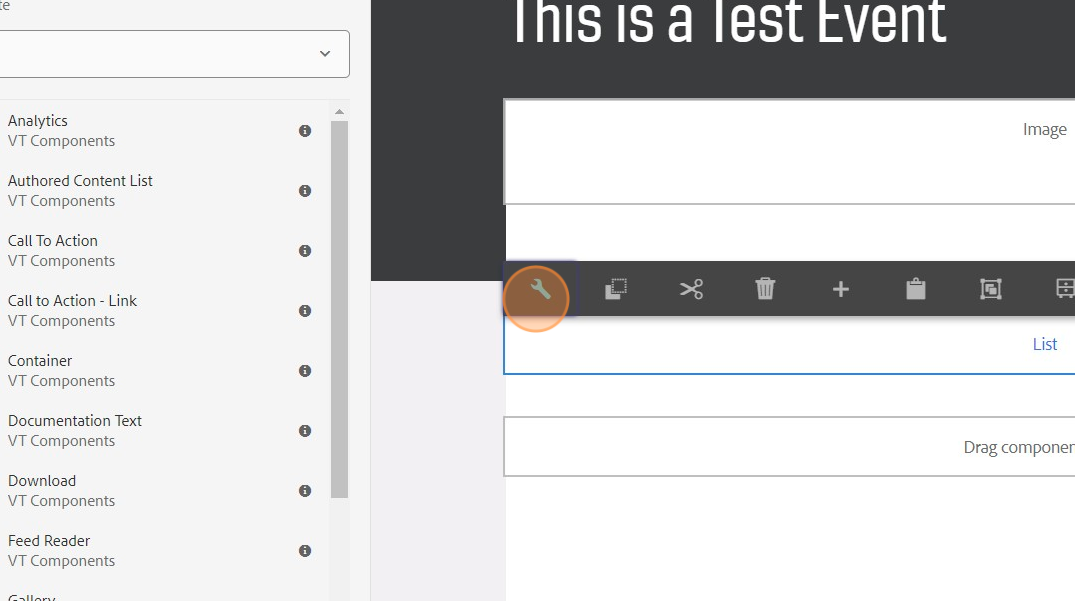
Example below: List component has been dragged to the content area.

Left click the List component and click the "wrench" icon to access configuration options.
You can build a list using a variety of ways, with the two most popular being "Child Pages" and "Fixed List". In this example we will use "Child Pages".
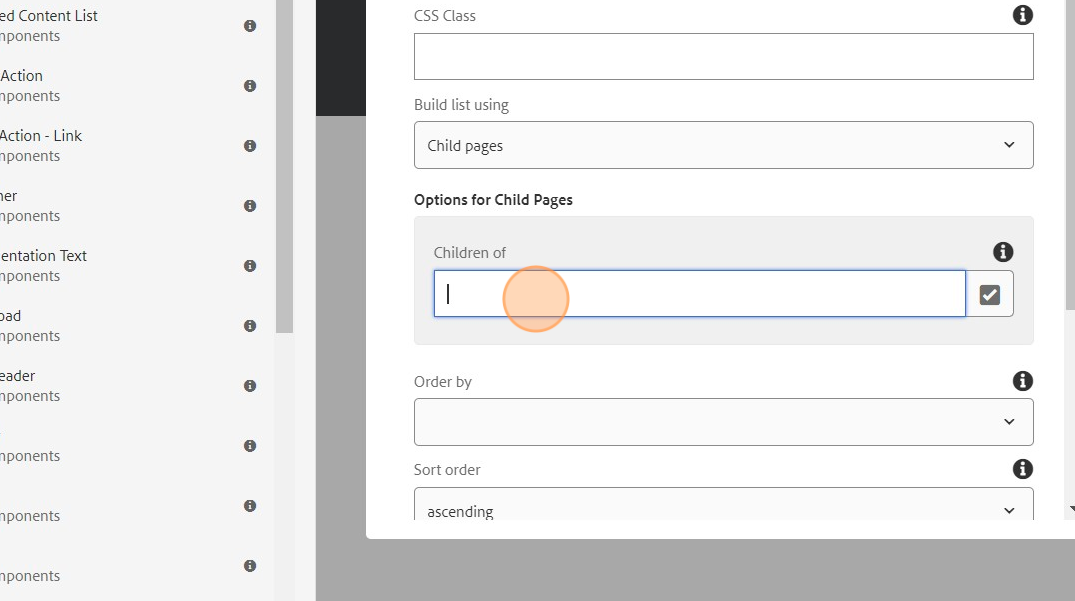
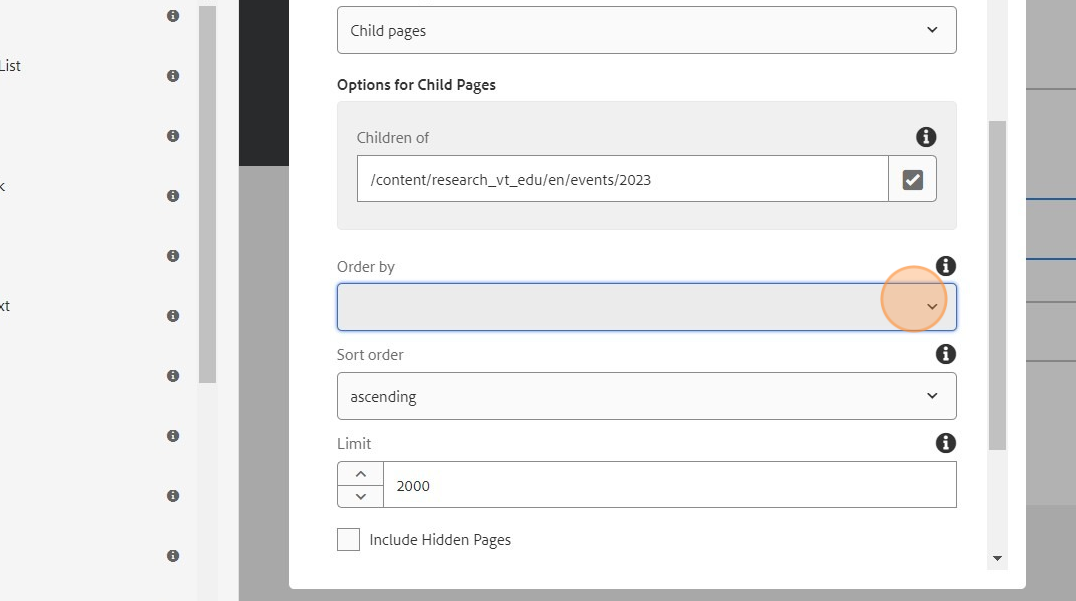
In the "Options for Child Pages" section, you can select where to pull child pages by entering a value under the "Children of" field. In this example, we will pull from the main events section all events from 2023. We would use an Ensemble system URL, example: "/content/research_vt_edu/en/events/2023".
The "Order by" dropdown can be used to set the order of pages. If you choose the "blank" option, this will order pages by how they are arranged in the directory. Additional options include title, created date, on time, last modified date.
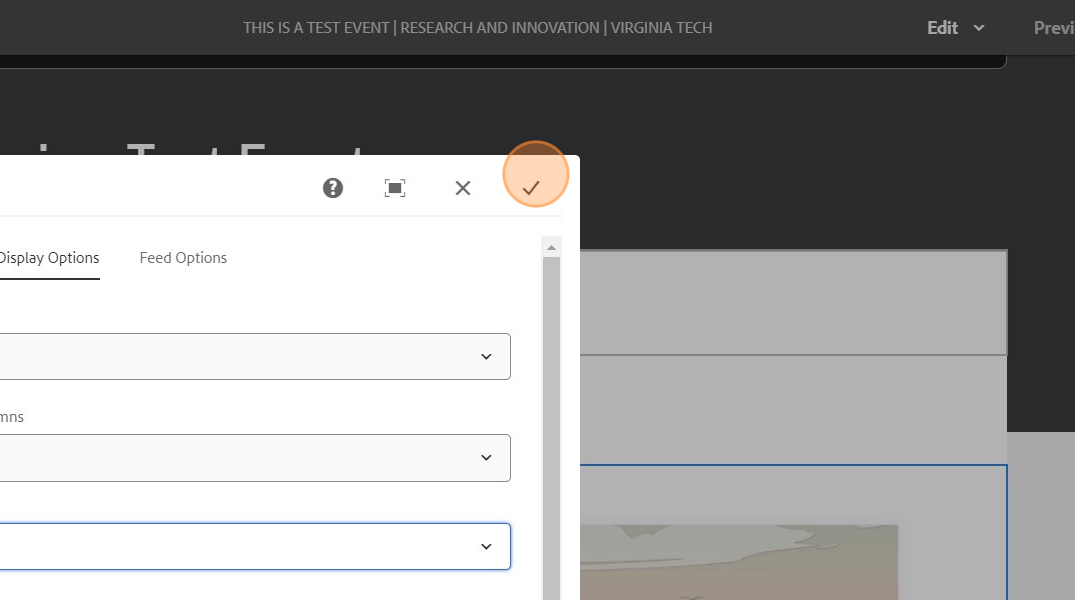
Click "Display Options" to see options for configuring the visual aspect of the list.

You have the ability to change the amount of columns shown (1 for a single column running down the page, 2, 3, 4, and 6 for multiple columns). It is recommended to not do more than 4. 1 and 3 are the most common column types used for lists. Additionally, you can change the image position. If a single column choose "Left". If multiple columns, choose "Top". If the page has a description field value (commonly used with events and contact info to show dates/job titles), enable that field as well.

Click the "checkmark" at the upper-right of the configuration options to accept the changes.
You can now preview your list by clicking "Preview" in the upper-right.